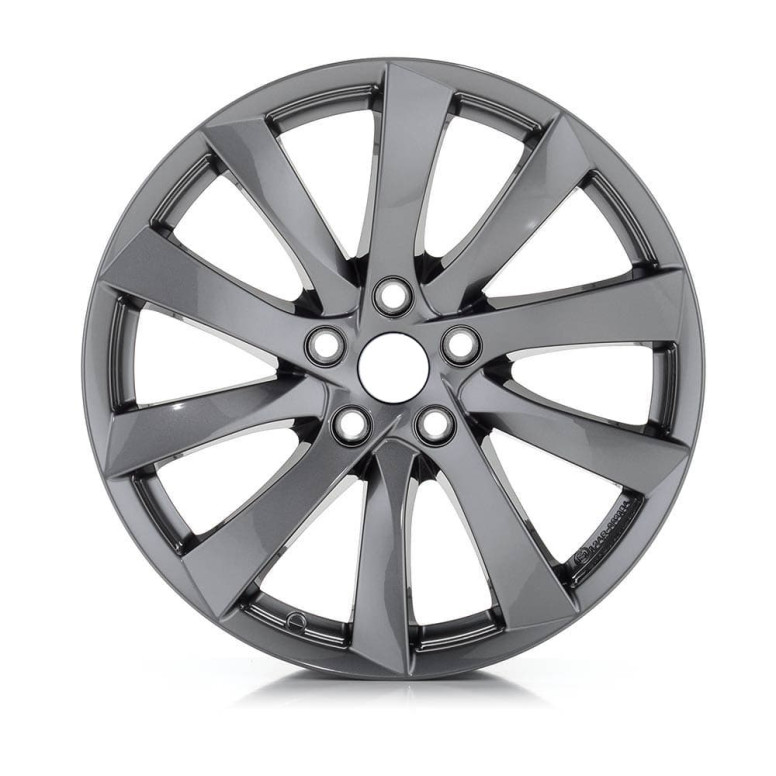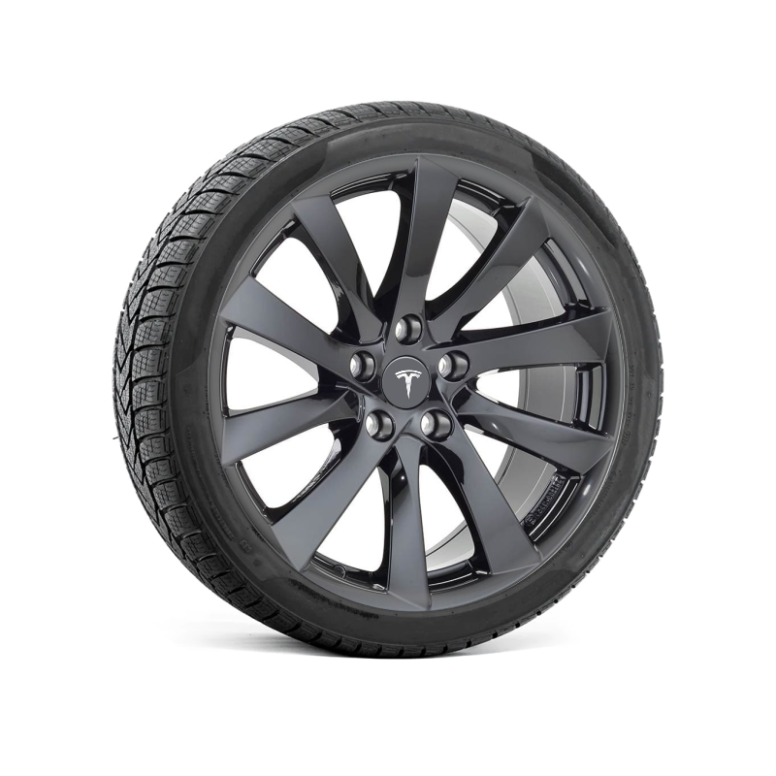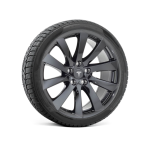

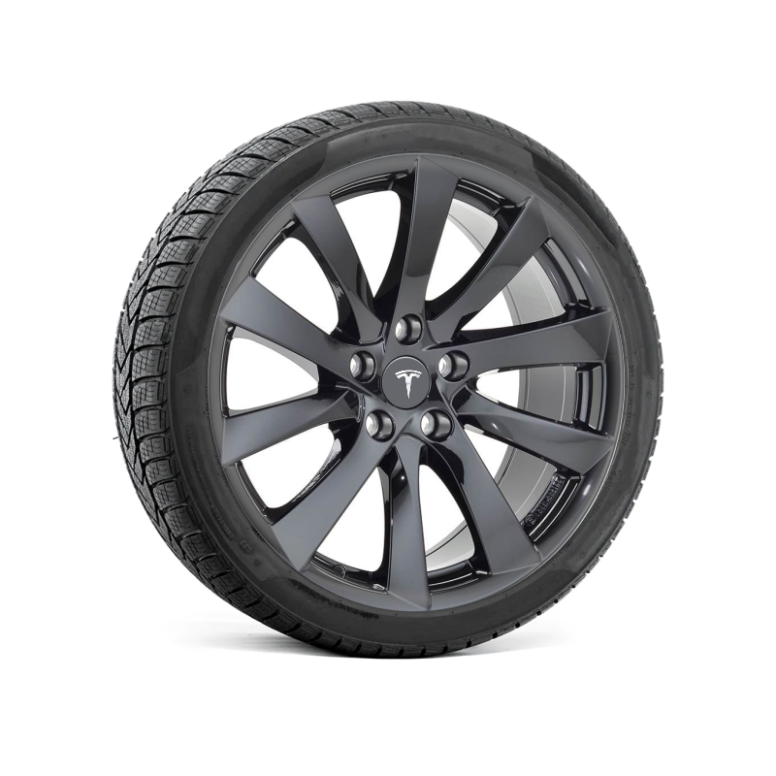
Fitting Tesla winter tyres at home is something any well-equipped DIY enthusiast can do, provided they follow three rules: lifting points, tightening torque and pressure sensors. Using the wrong type of jack can damage the battery, whilst tightening the nuts too loosely could cost you a wheel. Here is the complete, step-by-step guide.

Fitting Tesla winter tyres: essential equipment
Make sure you have a stable rolling jack – as the car doesn’t come with one – and lifting pads for Tesla (€8.74): these pads slot into the designated points and prevent any contact between the jack and the underbody. You’ll also need a torque wrench adjustable to at least 175 N·m, the correct socket for your wheel nuts, a cross-head spanner to loosen them, gloves and a tool to remove the centre caps if your wheels have them. Allow an hour for your first fitting of Tesla winter wheels; it’ll take half the time after that.
Step 1: Prepare the car
Park on a flat, hard surface; never on gravel or a slope. Shift into Park (P) and let the car cool down if you’ve just returned from a long journey: hot brakes and hubs can affect the tightening torque. On Model S and Model X vehicles with air suspension, enable Lift Mode in the settings: without it, the suspension will attempt to correct the ride height whilst the wheel is in the air. With the wheels still on the ground, loosen each nut by half a turn using the cross-head spanner; once the wheel is lifted, it will spin freely.
Step 2: Lift at the correct point
Every Tesla has four lifting points, located along the edge of the floorpan, near each wheel. Never lift the car by the battery or any suspension component. The owner’s manual, available on tesla.com, illustrates these for each model. Work on one wheel at a time, and slide a removed wheel under the underbody for safety.

Step 3: Fit and tighten in a star pattern
Clean the contact surface of the hub with a brush: even a small amount of rust can prevent the nuts from tightening properly. Do not apply grease to the threads. Screw the nuts on by hand, tighten them in a star pattern, lower the car back onto the ground, then apply the torque using a torque wrench: 175 N·m is the reference value specified by Tesla for its recent models; check your manual to confirm. Check the tightness after 50 to 100 km: this is the step most often overlooked when fitting Tesla winter tyres, and yet it is the most important for safety.
Step 4: Register the wheels and check the sensors
The final step in fitting Tesla winter tyres: in the Maintenance menu on the screen, select the wheel configuration that matches your new set of tyres: the estimated range depends on this. Then drive for a few minutes to allow the pressure sensors to be detected; if the warning persists, consult our guide to Tesla TPMS sensors. Finally, check and adjust your tyre pressure in cold winter conditions.
The Tesla winter tyre fitting checklist
- Flat surface, in Park (P), Lift mode set to S and X;
- wheel nuts loosened, wheel on the ground;
- jacking points in place, never under the battery;
- clean hub, tightened in a star pattern to 175 N·m;
- summer tyres washed, labelled and stored – see Tesla tyre storage.

Frequently Asked Questions
Do you need a garage to fit Tesla winter tyres? No, but a flat surface, a rolling jack and a torque wrench are essential.
Can I use a jack from another car? Yes, provided it is stable and you use suitable jacking stands.
Do the TPMS sensors configure themselves automatically? Often after a few minutes’ driving; otherwise, a recalibration or pairing may be necessary.
When should you fit your summer tyres back on? In spring, as soon as temperatures consistently stay above 7 °C.
Green Drive’s advice
With the right equipment and an hour to spare, fitting your own winter tyres is simple and safe; the 19-inch PL06 complete winter wheels (€849.90) come ready to fit. Find all the kits in our Model Y complete winter wheels section.